In this tutorial you will add our custom export preset to Media Encoder.
When you import your footage to Media Encoder, click on Match Source - High Bitrate or Custom for your source. That will open the Export Settings window. From there, look for the Preset option (highlighted in Red):
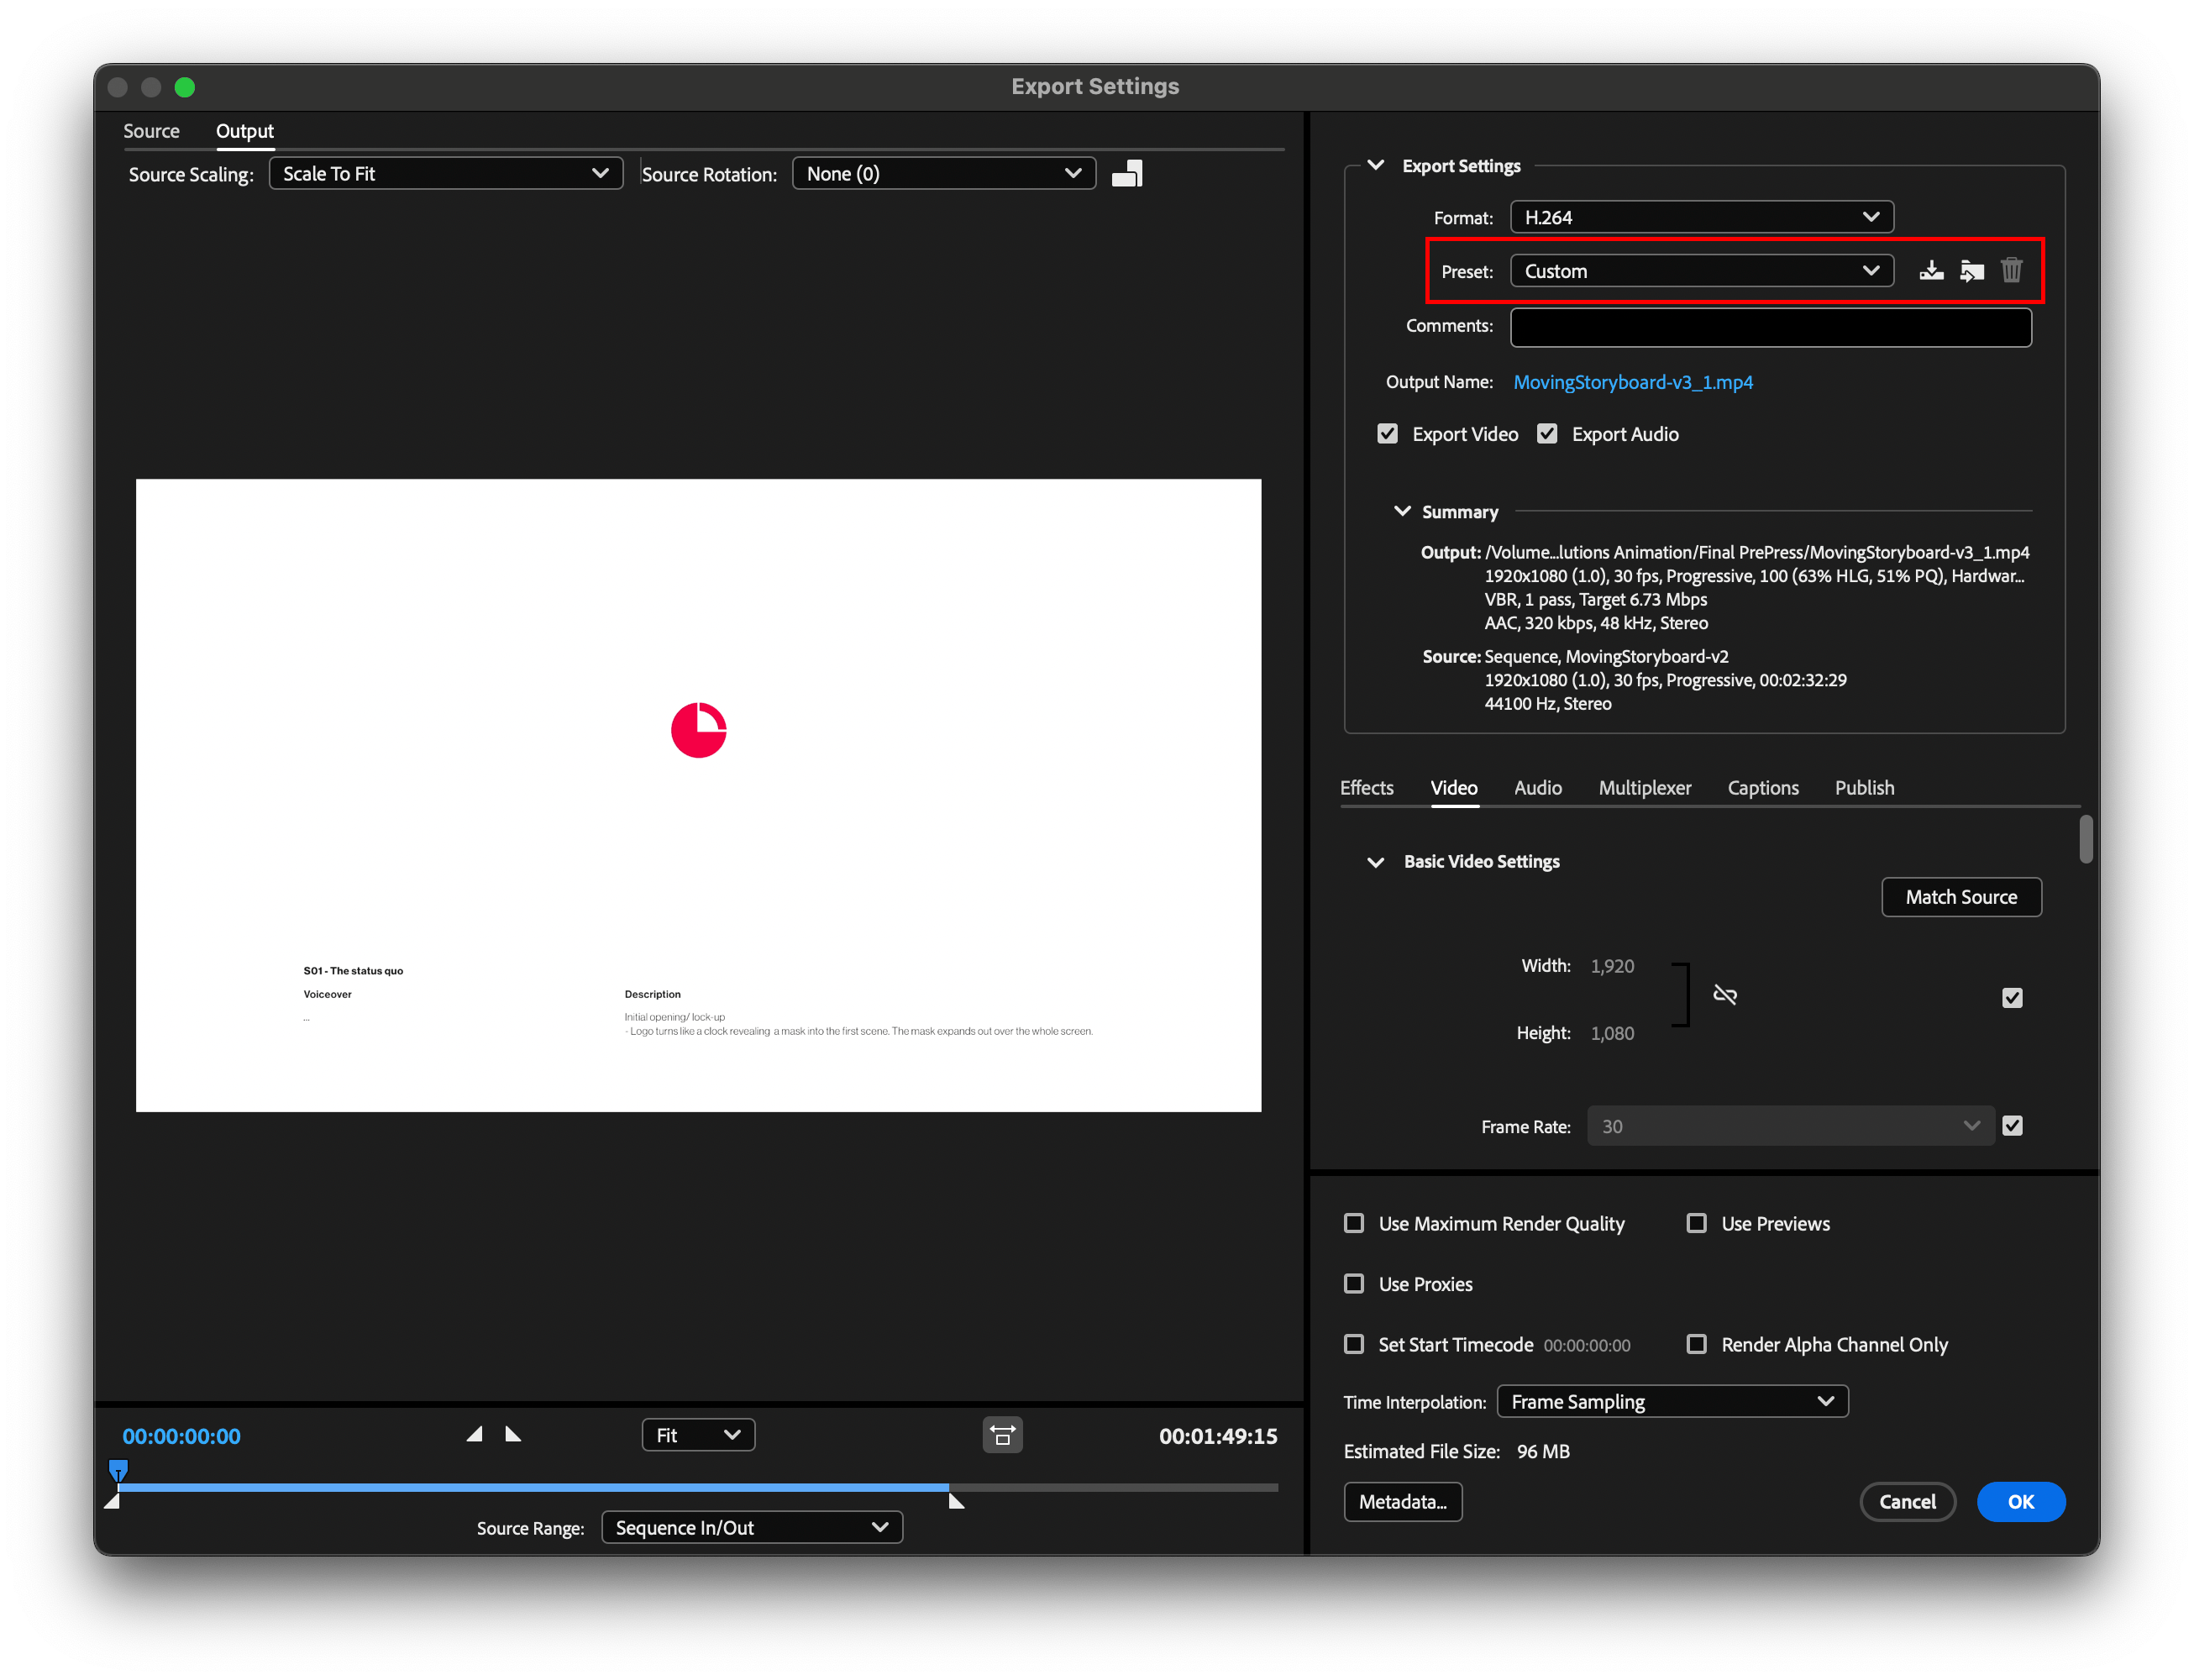 Click on the second icon from the right, it should say
 Import Preset when hovered, and look like a folder icon with an arrow pointing to the right.
From there, navigate to
/Volumes/_Resources/MoGraph/Presets/MediaEncoder/H264 10Mbps - QT Gamma.epr
and look for the file
H264 10Mbps - QT Gamma.epr (the file should have a green tag).
The export preset is now added!
What does the preset do?
The preset does the following:
- Applies a Gamma Conversion LUT to fix desaturation in exported colours from Premiere Pro and After Effects.
- Burns in any captions to the footage
- Matches the FPS and resolution to the source file
- Sets frame blending to Optical Flow