This note is about setting up Premire Pro production files.
Best Practices
- Any files from your downloads must be moved to the correct [[Default Client folder|folder in
Input - Supplied]] of the job before importing to Premiere Pro. - When using both cameras in the studio (the GH5 and GH3), use 25 FPS, as it is the only frame rate supported by both video cameras.
- When making motion graphics for social, or using only one camera, stick to 30 FPS.
- When editing with 4k footage, make sure your sequence is in 4k, and for any 1080p footage, right click and press “Set to Frame Size” to set it to the correct resolution.
Getting Started
Navigate to “Production - Workings/Edit - Premiere” and open the file “Prem Edit 01.prproj”
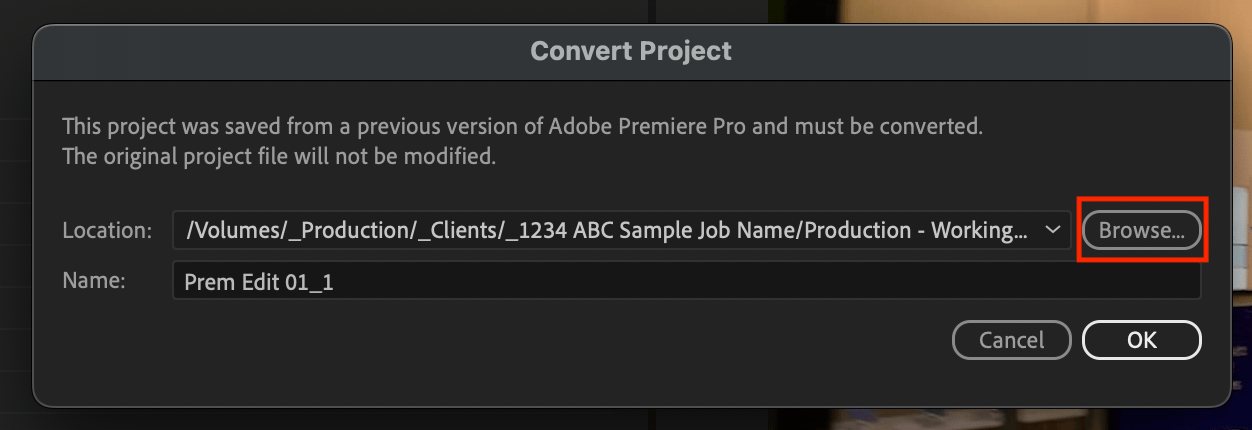
When this dialogue shows up in Premiere, click Browse:
Using the finder window where the project is located, drag the original production file to the folder icon at the top:
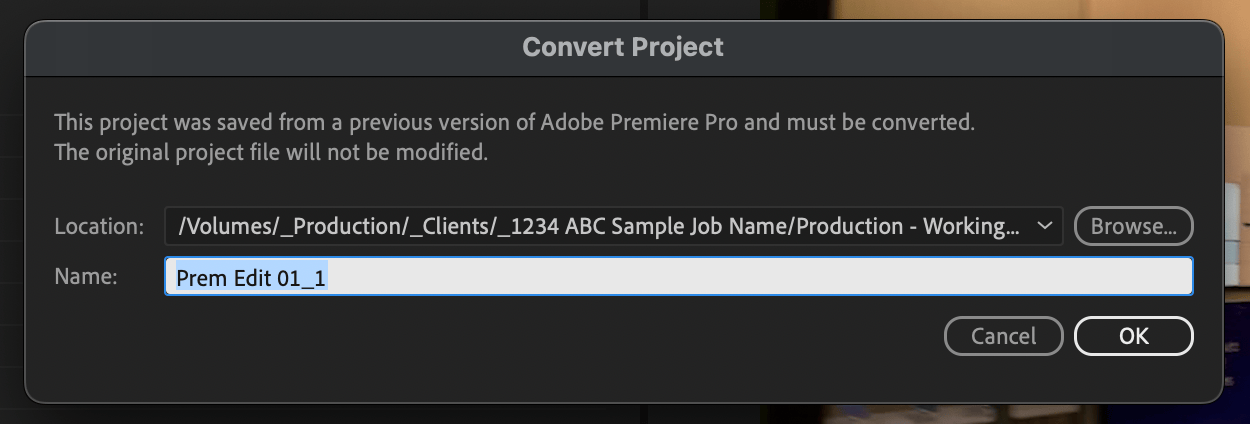
Click Choose in the bottom-right corner. Now you can rename your project to the current project name.
Doing this allows you to skip setting up a new premiere project from scratch, and allows you to use our internal Premiere Pro folder structure.
How to use the folder structure
When you load the new project file, you’ll be greeted by the following folders:
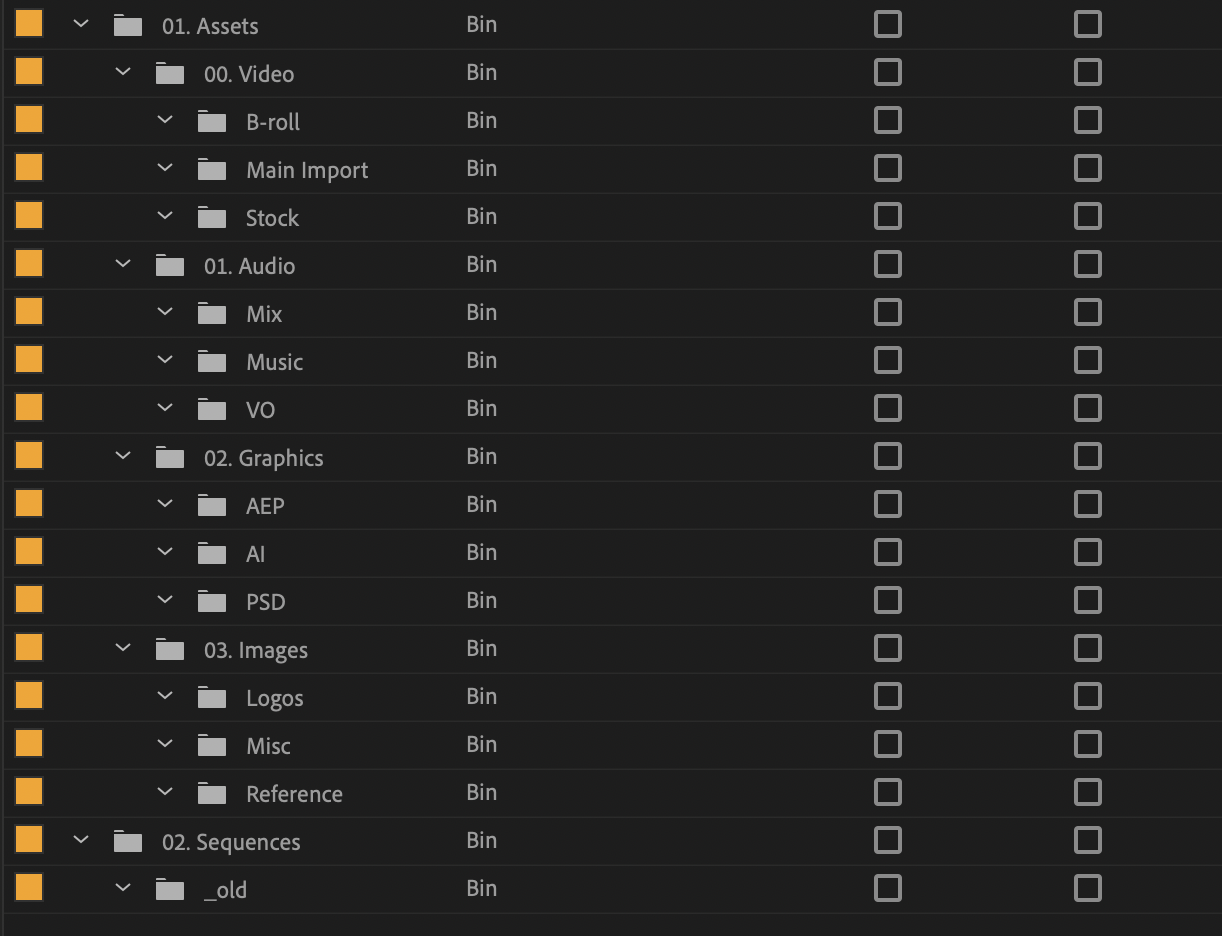
- Assets
- 00. Video
- B-roll
- Main Import
- Stock
-
- Audio
- Mix
- Music
- VO
-
- Graphics
- AEP
- AI
- PSD
-
- Images
- Logos
- Misc
- Reference
- 00. Video
-
- Sequences
- _Old
Try to keep any working files within this file organisation system, so that when someone else needs to review or update a graphic, they can open the project and find what they are expecting in the correct place.
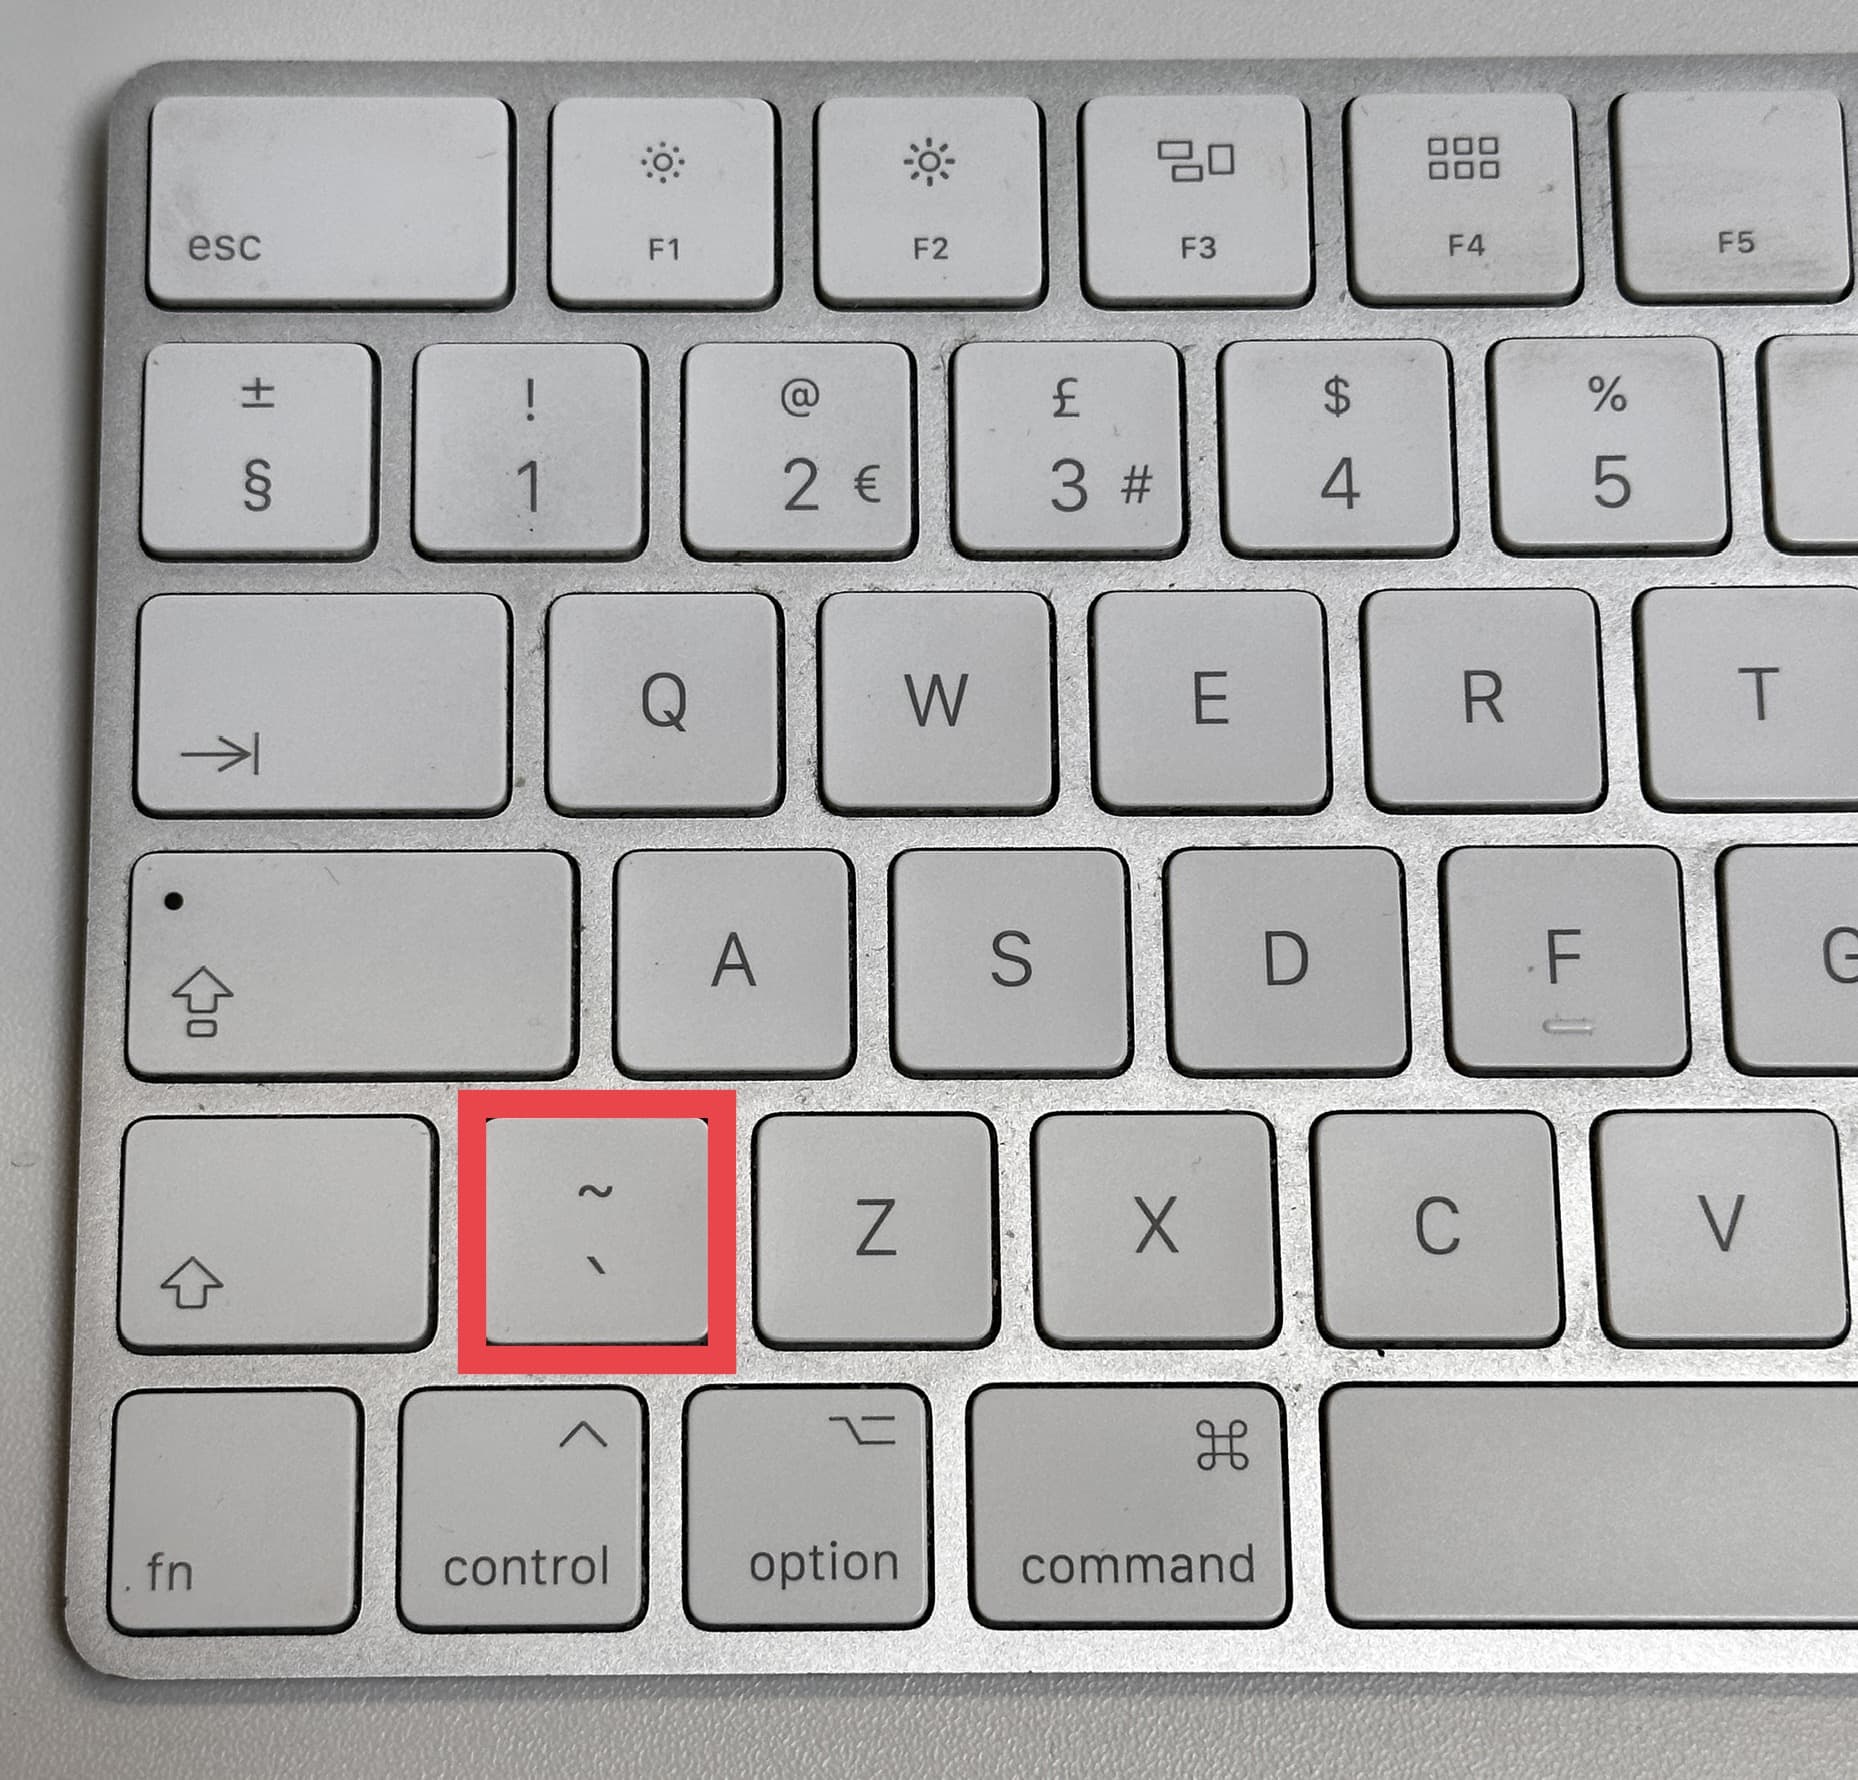
If the window is Maximised or massive and not sowing you anything else, try this:
To restore the project frame without having to reset your workspace, just press the ’~’ button on your keyboard.