Luma AI Capturing Best Practices
Capture Process
Capture speed: Motion blur can significantly degrade the quality of the reconstruction. For best results, move the phone slowly and to try to avoid rapid movements, especially rotation, as much as possible.
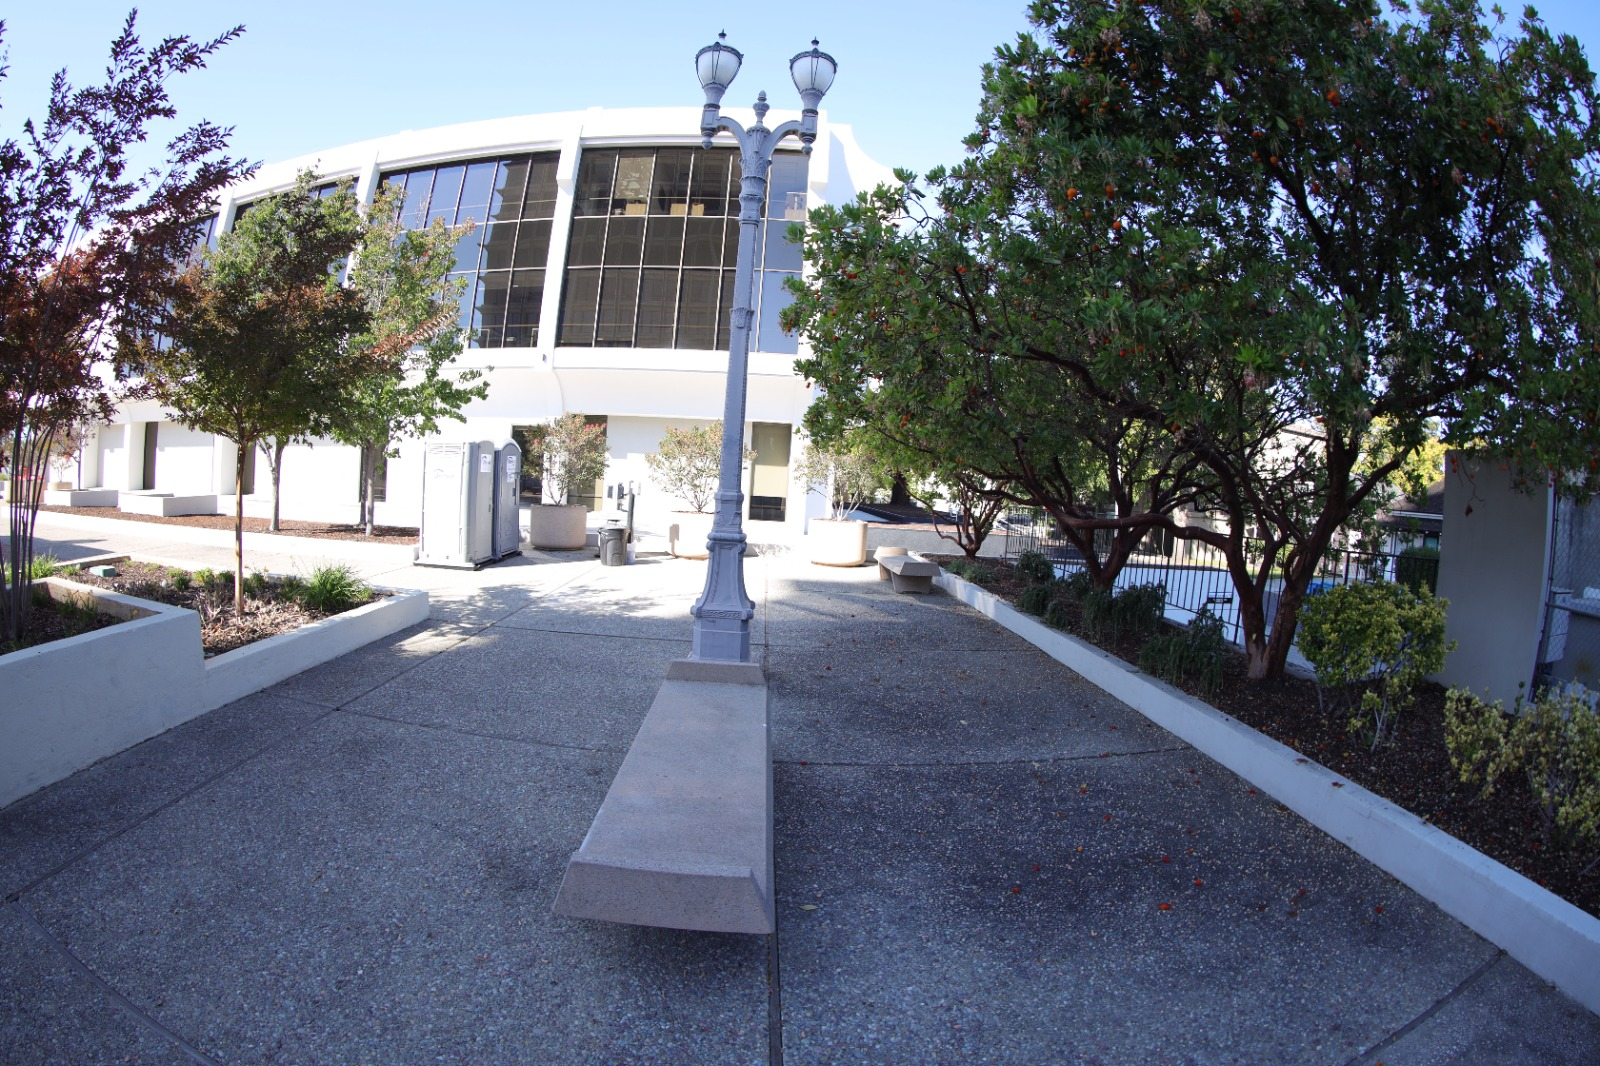
Scene coverage: For best results the object or scene should be captured from as many unique viewpoints as possible. Additionally, it is better to move the phone around (in 3D space) rather than rotating it from a stationary position when capturing. Standing in the same place and capturing outwards in a sphere typically does not work well. The guided capture mode is a good option for ensuring sufficient coverage.
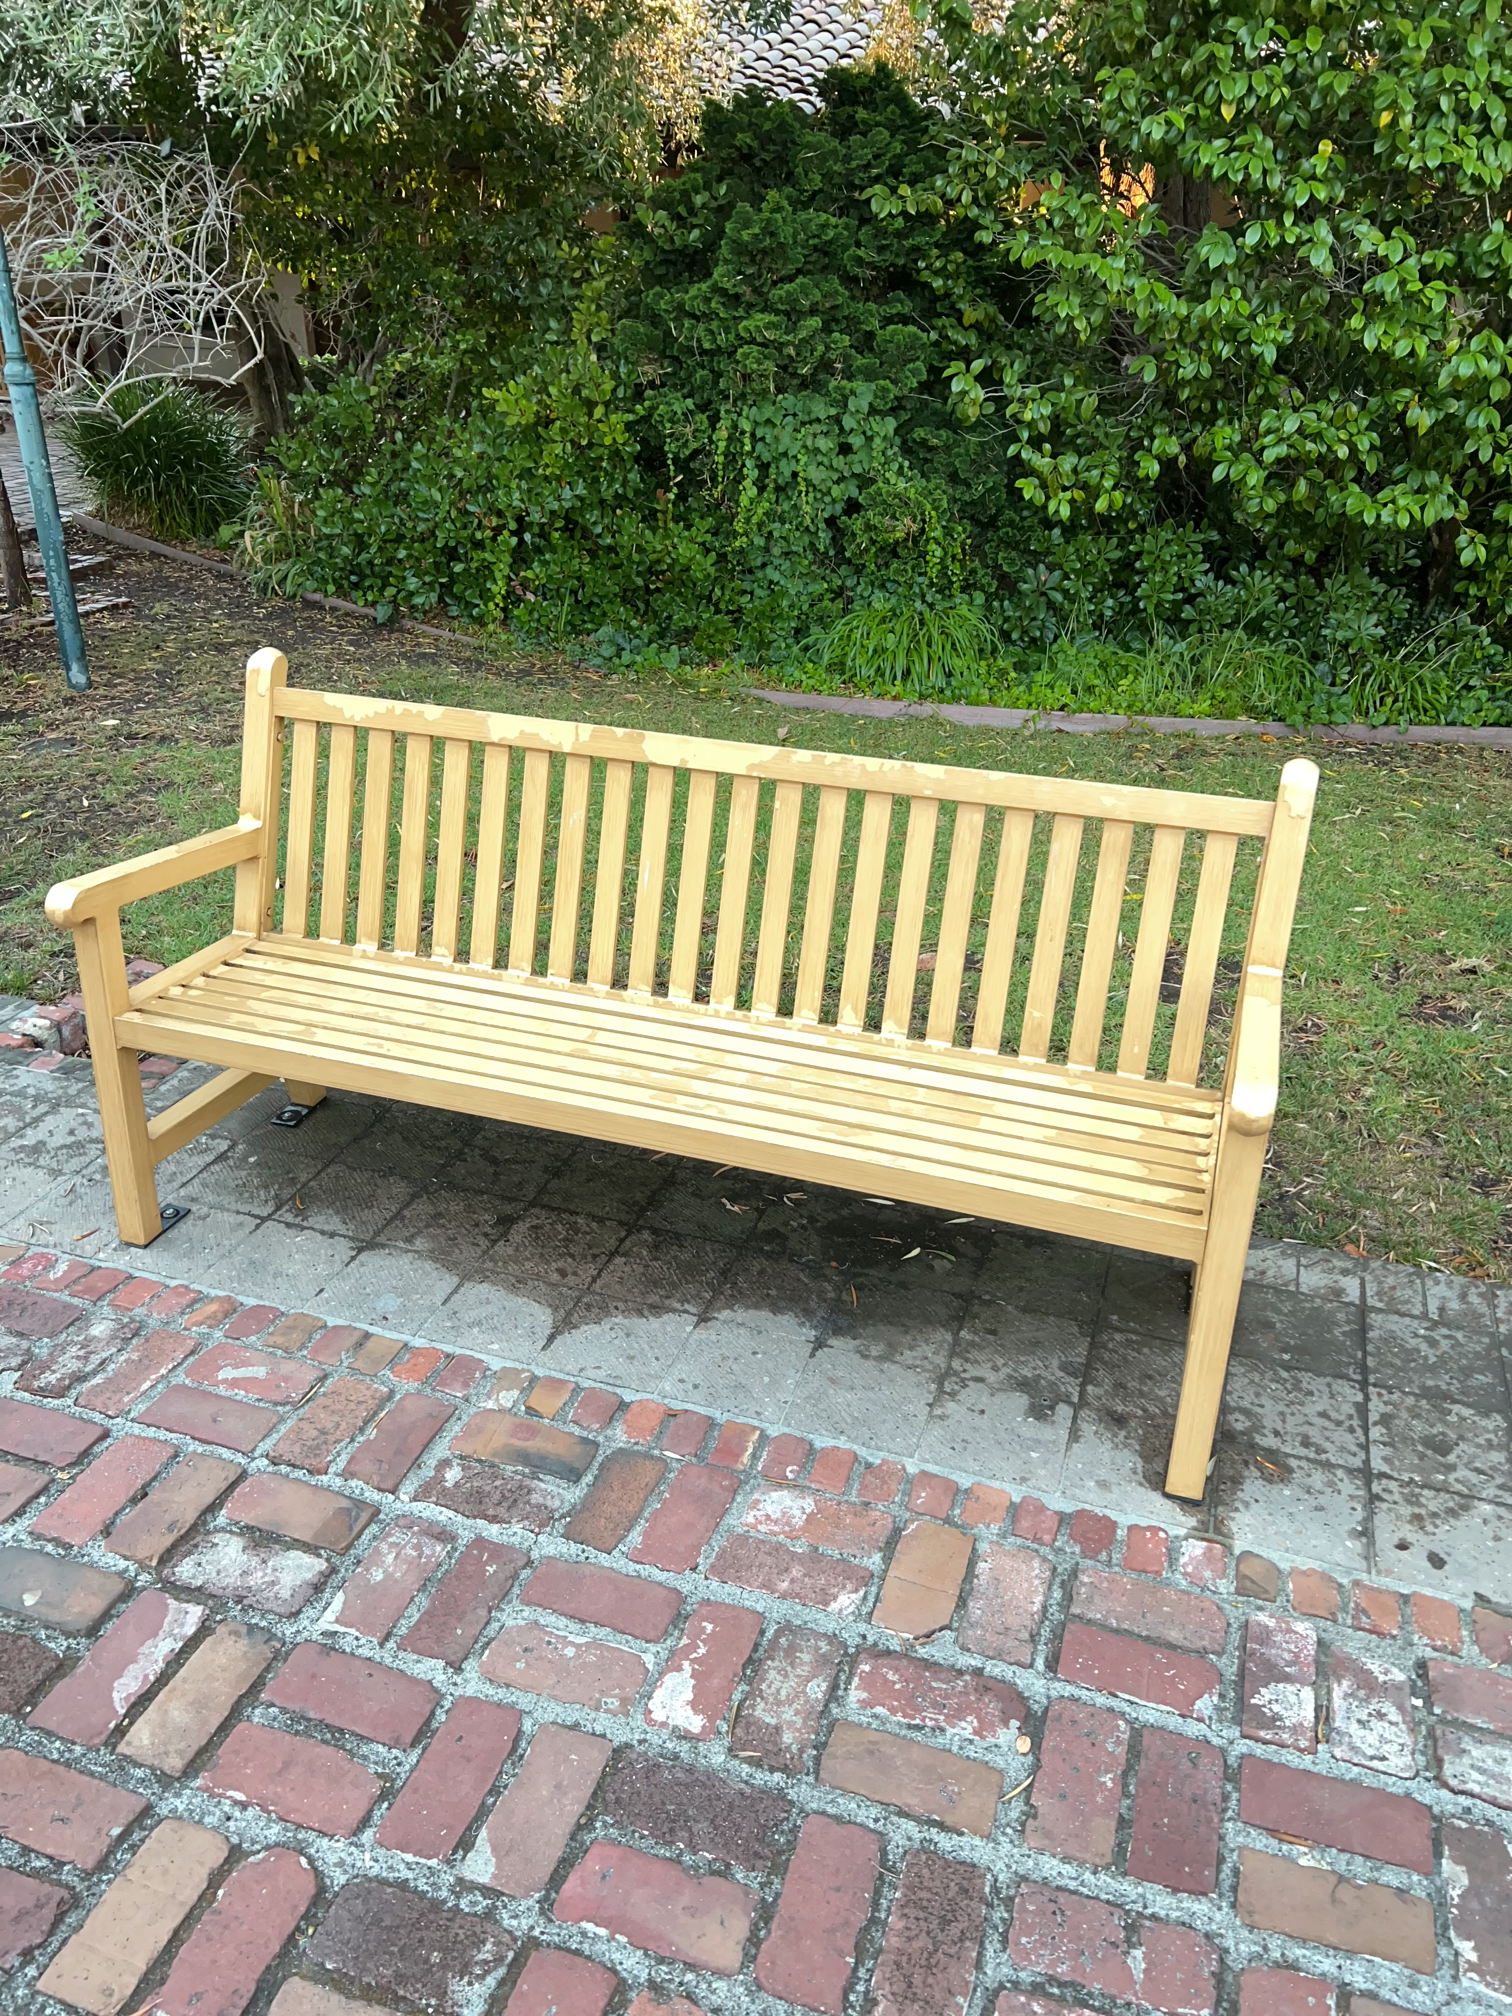
Object size: For guided captures any object that can be easily viewed from all angles (including the top and bottom) is a good candidate. For free-form captures anything is fair game, although better coverage will yield better results, so larger objects may be challenging to get a fully clean result.
Object distance: For best results, try to keep the whole object in frame while scanning. Doing so will provide the app with more information about reflections and object shape, resulting in a more accurate reconstruction.
Object materials: Currently, the app struggles with complex reflections (e.g., curved mirror-like surfaces), curved transparent objects (e.g., car windows or plastic water bottles), and very large textureless surfaces (e.g. white walls). Most other materials work well.
Capture environment light level: The app can capture objects in most lighting conditions as long as textures can still be identified (i.e., not washed out or completely dark). Lighting conditions will be baked in, so the scene should be lit however you would like it to appear in the final result.
Moving objects: Any movement in the scene during capture may degrade the quality of the final result. For example, tree leaves moving in the wind may result in loss of detail, and people moving around in the background could introduce artifacts. Please be careful not to get fingers / arms / legs into the frame when capturing.
Camera settings
Video setting gotchas: If using video capture, it is very important that video stablization is off, since it causes the frames to have unstable camera intrinsics; this is particularly important on Android devices. Also avoid using the “HDR video” option on iOS.
Exposure: If you capture your own video, we recommend using fixed exposure if possible, although allowing the exposure to vary can be beneficial for outdoor scenes with varying lighting. You can also upload raw images (although it may be hard to fit many in the size limit for now, see “image zips”).
Capture Formats
Using image zips instead of videos: You can upload zips of photos instead of videos through the Luma web interface. Photos are often higher quality than videos, captured intentionally and free from blur, and include EXIF metadata. They can be preferrable if the highest quality is desired. Any images at any path inside the zip will be used.
TIP: you can upload raw images (like CR3 and DNG, and many others) and HDR images (.exr) to enable higher dynamic range and learned demosaicking to improve quality. If using raw files, metadata will be used to render in sRGB (while the underlying NeRF will be HDR). With EXR the rendered color will be in the current color space because there is no colorspace metadata. Ask us about pro mode to render out EXRs and depths as well. Note that EXR processing has been improved since Jan 8, 2023.
While our system is fairly robust, it will have issues when using >4k images (e.g. 6K, 8K, 12K) and not really use them effectively, so we do not recommend you upload such high res images.
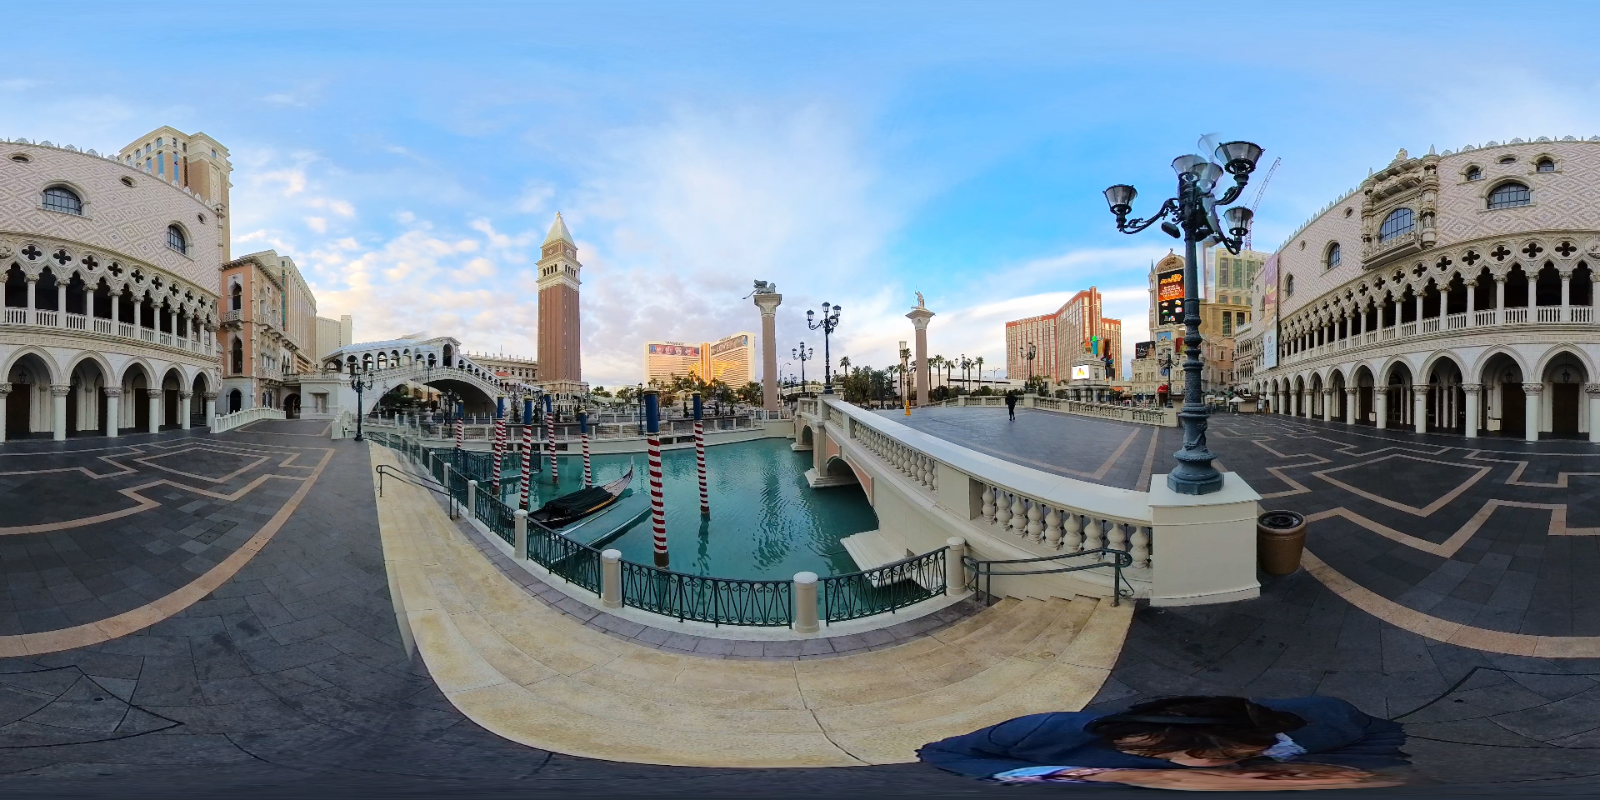
360 camera and fisheye lens captures: 360 video can be helpful for covering large indoor areas more efficiently and completely. Many common 360 cameras such as insta360 are actually dual-fisheye cameras with a fisheye camera on each opposing side. Stitching the images will result in distortions, but you can obtain dual fisheye images from the camera directly by connecting it to your computer.
- Option 1: (Single fisheye) Upload through Luma Web by changing the camera model from normal to fisheye. You can upload either a zip of images or a video as usual. Insta360 .insv files can be renamed directly to mp4 and uploaded. Note that the orientation will not be correct, but you can change the camera roll in the trajectory editor.
- Option: 2: (Dual or multiple fisheye, Insta360) Place one or more Insta360 .insv files inside a zip to upload monocular or a dual fisheye capture through luma web. Change the camera model from normal to fisheye. If (and only if) you captured with the stick held horizontally (camera pointing up-down or left-right), manually rename the files to front.insv/back.insv (00/10). Please use the two VID_* files not the concatenated LRV_* file!
Example images and explanation
-
normal (phone camera, monocular camera, etc)
-
fisheye (for specific camera setting, only choose this if you know you are using fisheye e.g. fisheye lens DSLR, insta360) Note that if fully zoomed out, fisheye images will appear as a centered circle with black space around it; this is also supported but zoomed in, full frame is preferred (more useful pixels, less distortion). Multiple video streams can be used by adding them to a zip and uploading it
-
equirectangular (this is a common format for 360 videos, typically obtained from 360 cameras by stitching); NOTE: Professional 360 stitching is recommended. We have found for example that Insta360 studio stitching can have high error and be severely misaligned. If stitching is not good, please switch back to dual fisheye.
Advanced settings
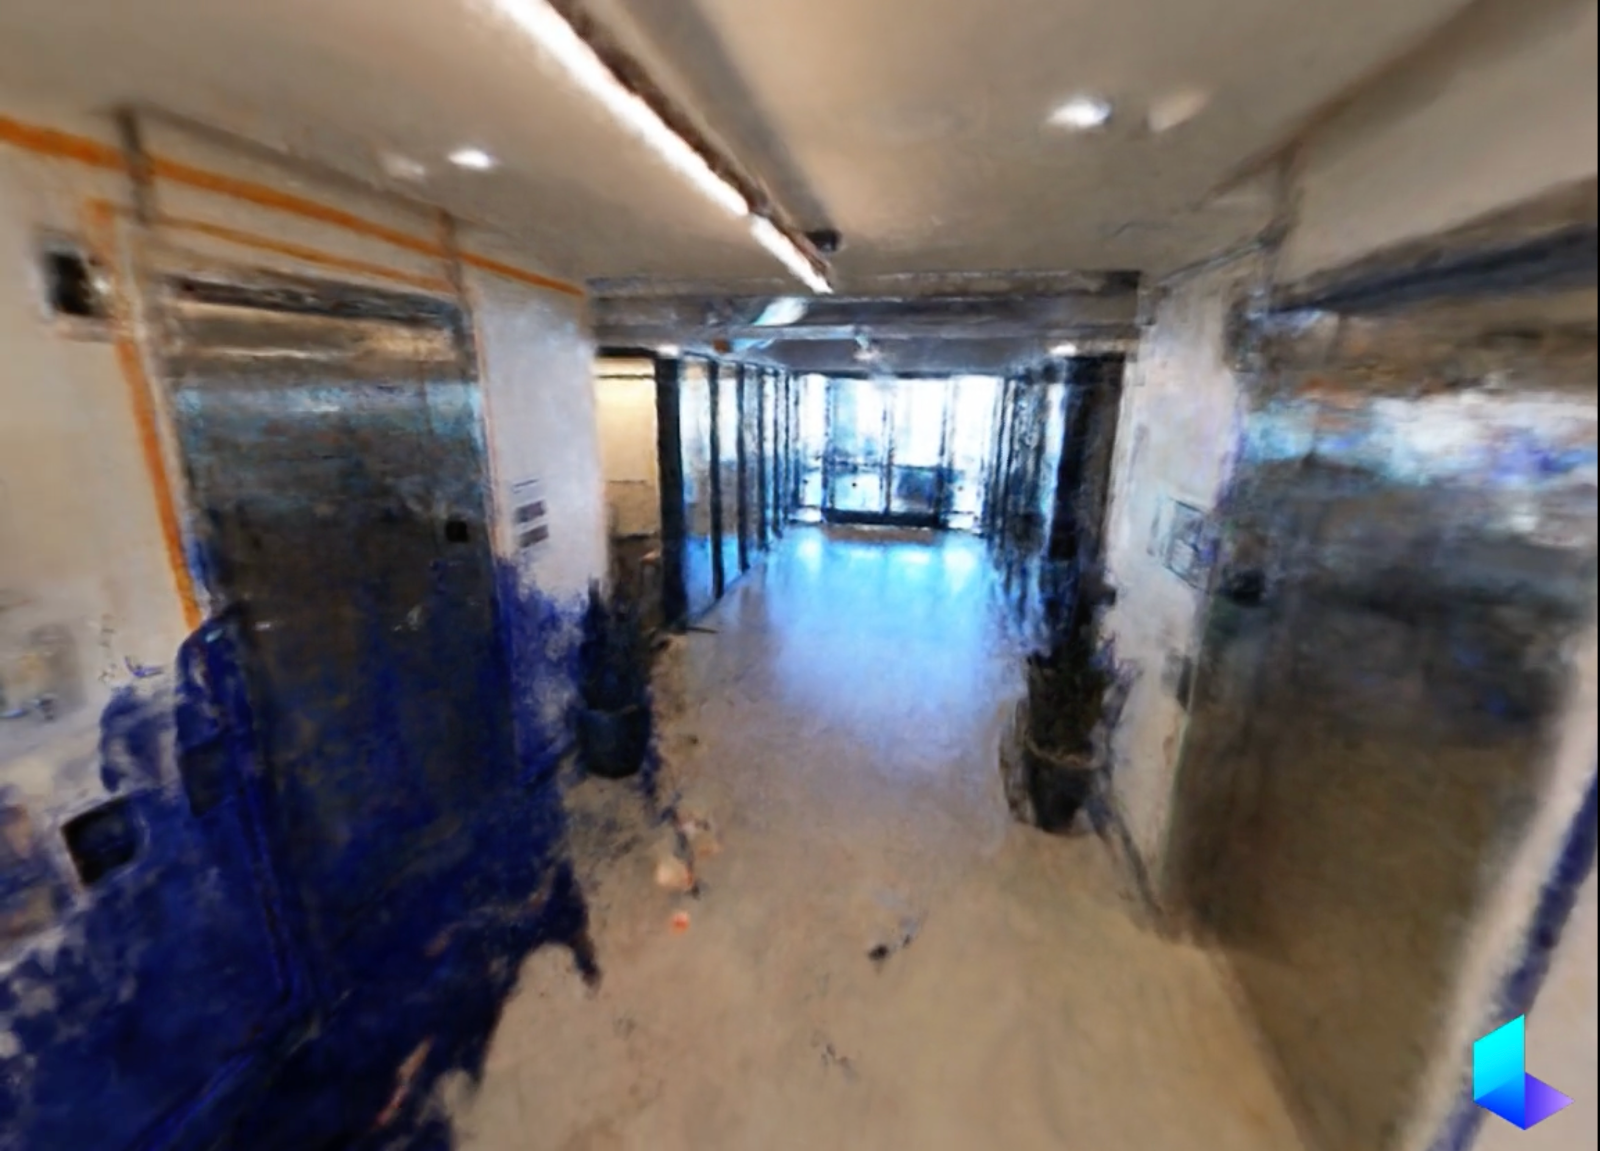
Remove humans: This attempts to remove all humans in the scene. It is mainly useful to remove the cameraman in 360 fisheye and equirectangular videos. It can also be useful in normal video to remove people walking around. Since it removes all humans in the scene, do not turn it on if your main object is a person. An example comparison on a 360 capture (left: off, the cameraman appears as some transient effect, right: on)
Custom pose: By default, you only have to upload images and the pose reconstruction is done on our server. However, you can also provide custom poses with the following steps:
- Create a folder images and put all your images inside (these images need to be taken with the same camera, have the same size and extension).
- Create a transforms.json file that contains the following parameters (the values here are exemplar):
{
  "fl_x": 1072.0, // focal length x
  "fl_y": 1068.0, // focal length y
  "cx": 1504.0, // principal point x
  "cy": 1000.0, // principal point y
  "w": 3008, // image width
  "h": 2000, // image height
  "k1": 0.0312, // first radial distortion parameter
  "k2": 0.0051, // second radial distortion parameter
  "p1": -6.47e-5, // first tangential distortion parameter
  "p2": -1.37e-7, // second tangential distortion parameter
  "frames": // ... per-frame extrinsics parameters
}
If there is no distortion parameters, either fill with 0.0 or omit those keys in the file.
”frames” is a list containing the per-frame extrinsics, it must follow the following format:
{
  // ... intrinsics
  "frames": [
    {
      "file_path": "images/000000.png",  // the image name that this pose corresponds to
      "transform_matrix": [  // the 4x4 camera to world transformation matrix
        [
          -0.9870424854536357,
          -0.04286068960020905,
          0.1546288886220934,
          0.2296572352305054
        ],
        [
          0.16044120153564245,
          -0.2492176854820574,
          0.9550650062130669,
          1.4324085612737296
        ],
        [
          -0.002398491048258966,
          0.9674985821849876,
          0.25286506423531635,
          0.379492090721208
        ],
        [
          0.0,
          0.0,
          0.0,
          1.0
        ]
      ]
    },
    // ...
    // other frames' pose
    // must contain the same number of poses as the number of images
  ]
- Finally, create a zip file (of any name) that contains the above files in the following structure and upload it via our web interface. On upload, please select the correct camera type (pinhole/fisheye/equirectangular)
upload.zip
|__ images/          // this folder contains all the images
    |__  000000.png  // example
    |__  ...
|__ transforms.json
If you still have question, here is an example of such data.
Copied from https://web.archive.org/web/20240701000000*/https://docs.lumalabs.ai/MCrGAEukR4orR9